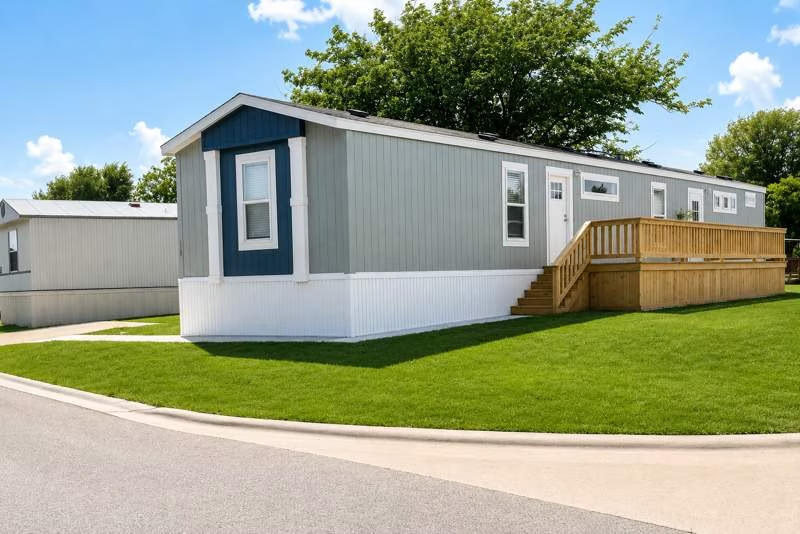
The keys are in your hand, the moving truck is waiting, and every room is full of possibility. A manufactured home move-in checklist printable gives you a calm, practical way to handle the details before boxes pile up and small concerns become harder to track. Print this checklist, bring it to your walkthrough, and keep it with your lease or closing documents.
A good move-in process is about more than unpacking. It helps protect your security deposit when you rent, documents the home’s condition, confirms that essential systems are working, and gives your household a safer, more comfortable first week.
Before You Bring in the Boxes
Start with the home while it is empty and easy to inspect. Your community team should explain move-in procedures, parking expectations, trash collection, utility responsibilities, and the best way to submit a maintenance request. Ask questions now, especially if something in the agreement or home orientation is unclear.
Take time-stamped photos and short videos of each room before your furniture arrives. Focus on walls, flooring, cabinets, appliances, windows, doors, fixtures, and any existing wear. Photos are helpful, but written notes give them context. If you notice a scratched floor, a chipped counter, or a door that sticks, record where it is and notify management according to your community’s move-in process.
Use this quick pre-move checklist:
- [ ] Review your lease, closing paperwork, community rules, and emergency contact information.
- [ ] Confirm your move-in date, moving vehicle route, parking plan, and any required gate or office access.
- [ ] Set up electricity, water, gas, internet, and trash service if those services are your responsibility.
- [ ] Verify renters or homeowners insurance and update your mailing address with important accounts.
- [ ] Collect keys, mailbox keys, gate remotes, and instructions for online resident portal access.
If a service is already active, confirm which provider is responsible and when billing begins. Avoid assuming a utility is included simply because it is working on move-in day.
Manufactured Home Move-In Checklist Printable: Your Walkthrough
Bring a pen, phone camera, flashlight, and this checklist to the walkthrough. Check every item even when the home looks newly updated or has been professionally cleaned. A careful walkthrough is not about finding fault. It is about creating a clear starting record and making sure your home is ready for everyday life.
Exterior, Entry, and Site
Begin outside, where drainage, access, and safety matter. Walk around the home in daylight if possible. Look for clear steps and handrails, secure skirting, and a level path to each entrance. If your home has a deck, porch, shed, driveway, or designated parking area, make sure you understand what is included in your agreement and who handles upkeep.
- [ ] Check exterior doors, locks, deadbolts, screens, and weatherstripping.
- [ ] Test porch lights and confirm that house numbers are visible.
- [ ] Note the condition of steps, railings, walkways, driveway, and outdoor fixtures.
- [ ] Locate the water shutoff, electrical panel, and exterior HVAC equipment.
- [ ] Look for standing water, drainage concerns, loose skirting, or visible damage and report it promptly.
Do not make changes to the site, such as adding a fence, storage structure, or major landscaping, until you know your community guidelines. Rules help keep shared spaces clean, accessible, and welcoming for everyone.
Kitchen, Baths, and Appliances
These areas can reveal problems that are easy to miss during a quick tour. Run water at every sink and let it flow long enough to check pressure and drainage. Open cabinets below sinks and look for moisture or signs of leaks. Test appliances one at a time so you can document specific concerns accurately.
- [ ] Turn on hot and cold water at each sink, shower, and tub.
- [ ] Flush every toilet and check for a steady refill and secure base.
- [ ] Test the range, oven, refrigerator, dishwasher, microwave, garbage disposal, and exhaust fan, if provided.
- [ ] Check cabinet doors, drawers, counters, backsplash, and flooring.
- [ ] Locate the water heater and review any operating instructions provided.
A refrigerator may need several hours to reach a safe temperature after it has been moved or reconnected. It depends on the appliance and how recently it was unplugged, so wait to stock it with perishable food until it is cooling properly.
Heating, Cooling, Electrical, and Safety
Comfort depends on systems you may not think about until they stop working. Test the thermostat, operate the heating and cooling system briefly, and make sure vents are open and unobstructed. In warmer states such as Arizona and Texas, dependable cooling deserves special attention. In areas with colder winters, confirm that you understand the heating system before the first cold night arrives.
- [ ] Test lights, switches, ceiling fans, and a sample of outlets in every room.
- [ ] Check the thermostat and listen for normal heating and cooling operation.
- [ ] Confirm smoke alarms and carbon monoxide alarms are present and functioning.
- [ ] Locate fire extinguishers, if supplied, and review the emergency exit routes.
- [ ] Test window latches and make sure bedroom exits open as intended.
Never disable a smoke alarm because it chirps or sounds during cooking. Report a maintenance issue, replace batteries if that is your responsibility, and use ventilation when preparing meals.
Make the First 72 Hours Easier
Once the inspection is complete, unpack in the order that supports daily routines. Set up beds first, followed by bathroom essentials, medications, basic kitchen supplies, and chargers. This keeps move-in day manageable even if the rest of the home takes a week to organize.
Create a small home file for your lease or title documents, utility account numbers, appliance manuals, inspection photos, and maintenance communications. Digital copies are useful, but keep key information somewhere you can access during an internet outage or phone replacement.
Take a few minutes to introduce yourself to nearby neighbors when the timing feels right. A well-managed community offers more than an address. It offers familiar faces, shared expectations, and people who may be able to point you toward local services, school information, or the community office.
When to Contact Community Management
Report maintenance concerns through the approved channel as soon as you find them. Clear requests help a team respond efficiently: include the location, a short description, when the issue started, and photos when they clarify the problem. For an active leak, electrical concern, gas odor, no heat in cold conditions, or another urgent safety issue, follow the emergency instructions provided by your community rather than waiting for regular office hours.
For non-urgent items, keep expectations realistic. Some repairs can be completed quickly, while parts availability, vendor scheduling, weather, or the nature of the repair may affect timing. Prompt reporting and complete documentation give everyone a better path to resolution.
Keep This Checklist for Move-Out, Too
Your move-in photos and notes become valuable again when it is time to move out or sell. Keep them with your updated maintenance records and receipts for any approved improvements. A home that is cared for consistently is easier to enjoy, easier to maintain, and easier to transition from when life changes.
Settle in at your own pace. The boxes will disappear, routines will form, and the details you handled on day one will give your household a stronger start in a place you can be proud to call home.